Building an Accessible Changing Table
My wife and I recently welcomed our first child to the world, and neither of us were really prepared for just how many diapers an infant can go through. I can change a diaper in under a minute, but my wife, a wheelchair user, faces some unique challenges w/r/t this task. Specifically, she gets along much better when things are roll-under. Our kitchen table is the perfect height, so I based the height off of that.
Design and Construction
I recall seeing stair treads at Menards for a pretty decent price, so I bought four of those (turned out only three were necessary).
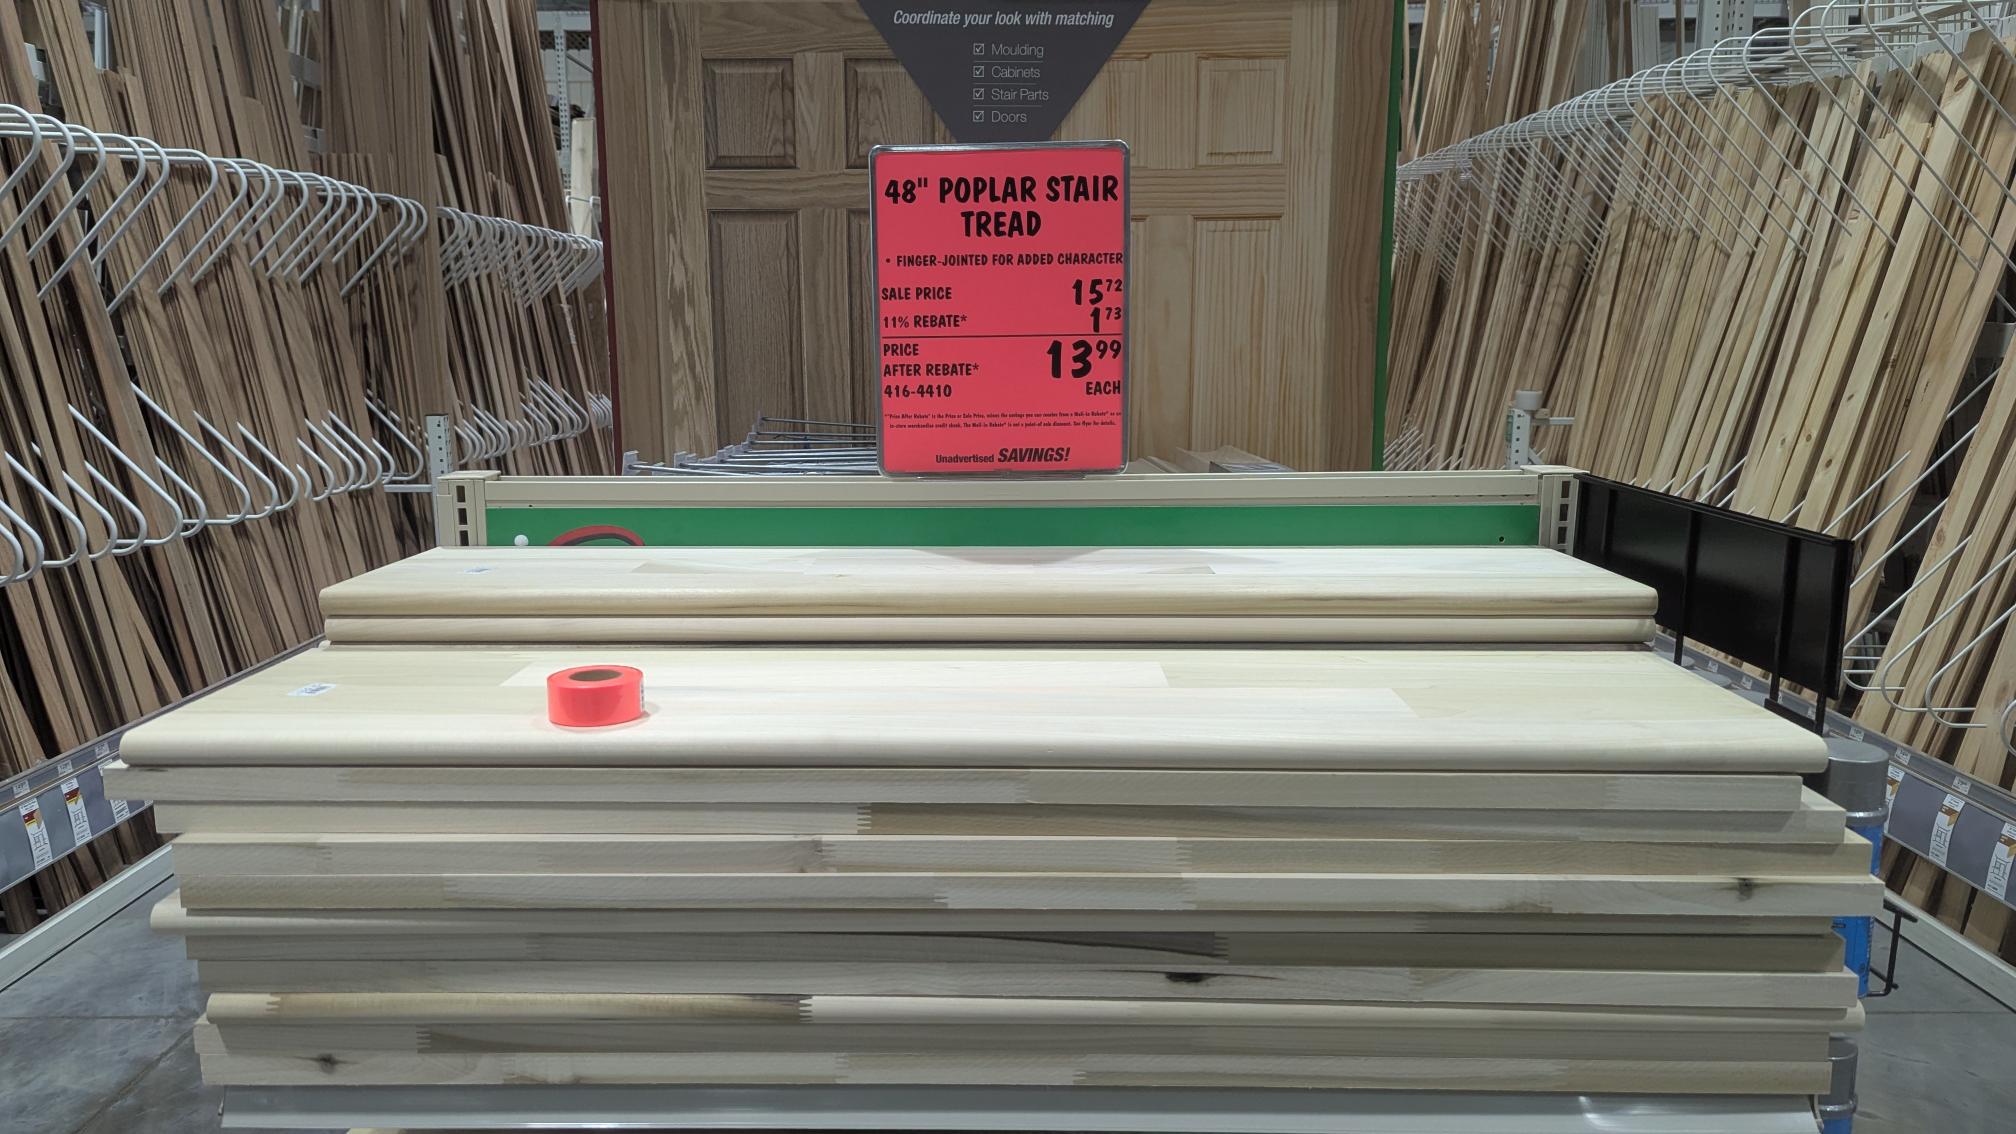
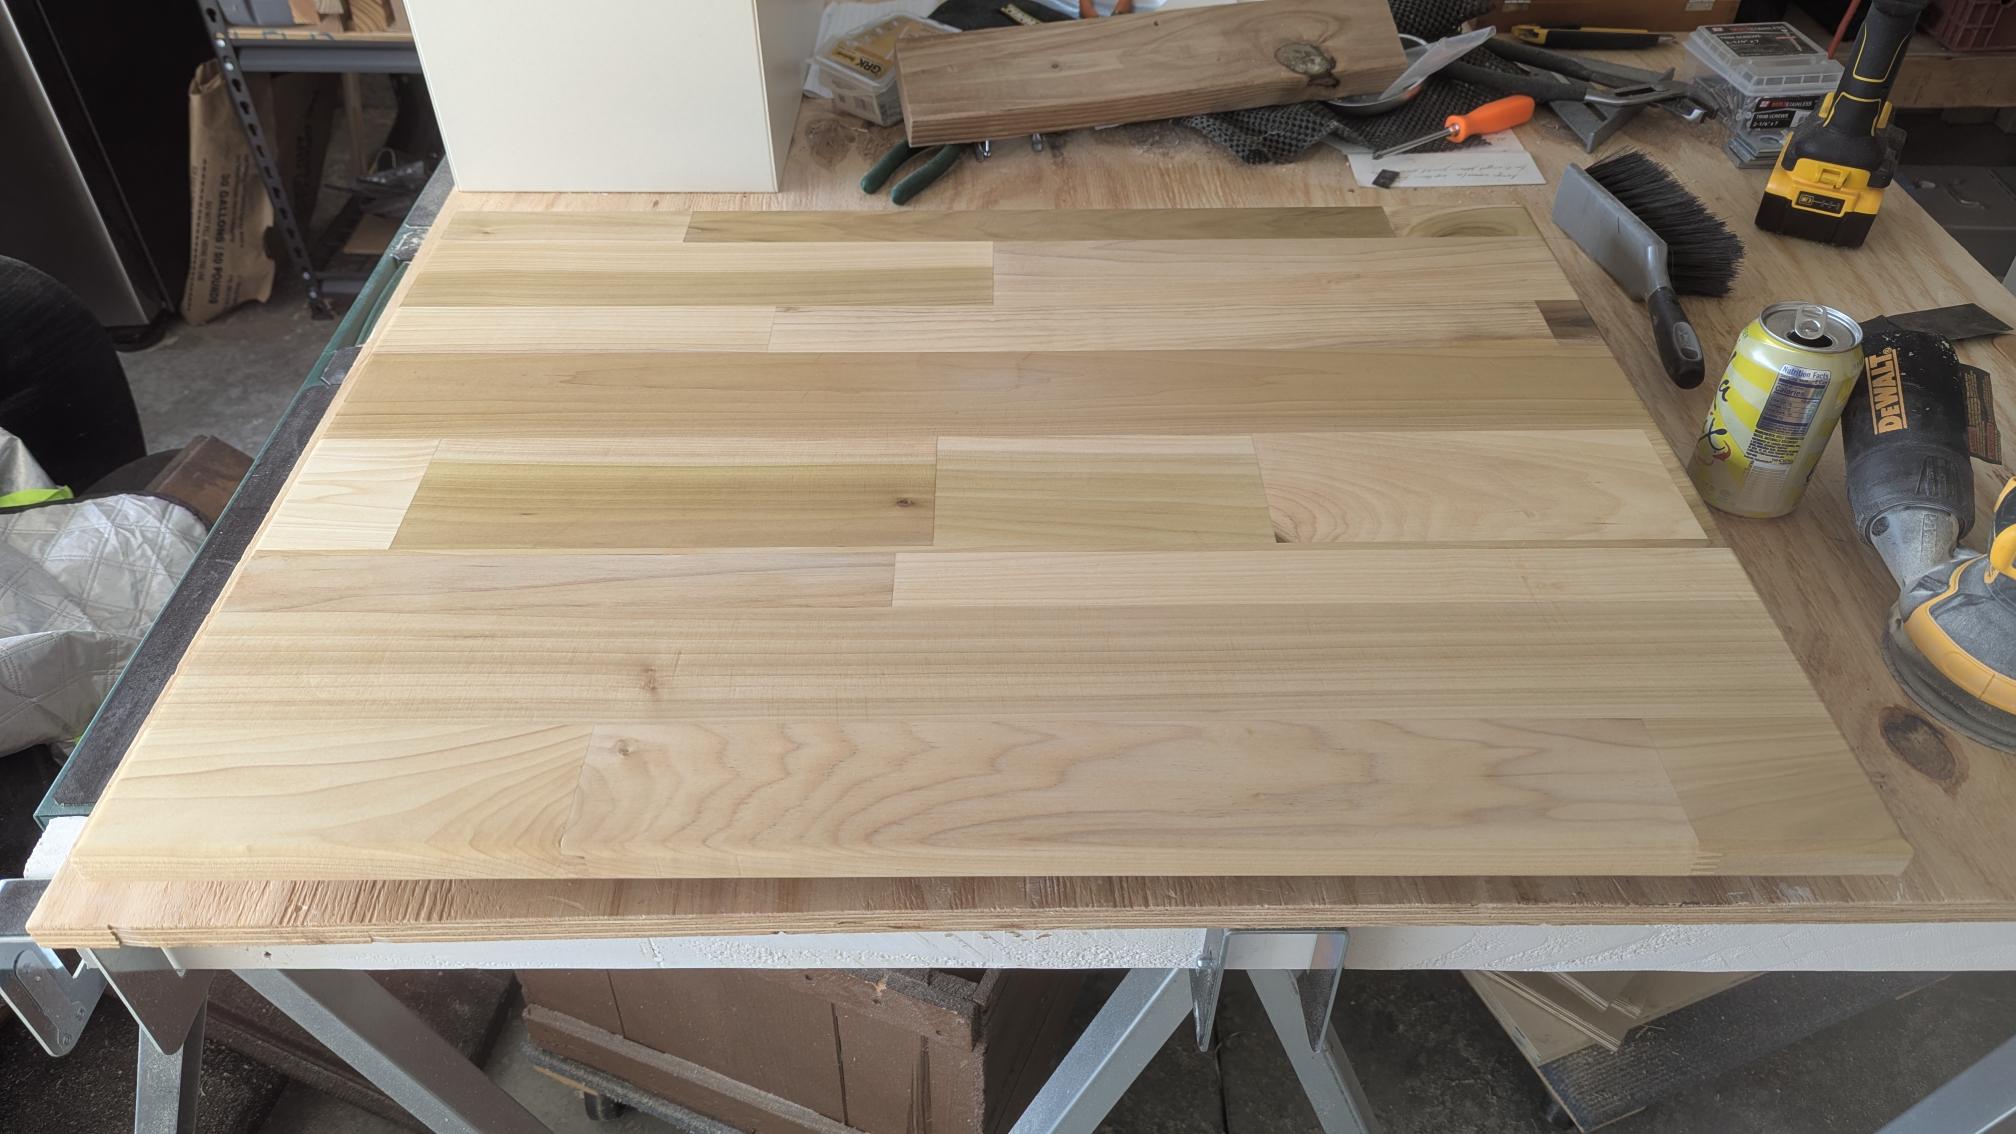
I went with these because I wanted the 1" height, and the price was good. I wanted cedar, but they were out, so I went with poplar. Doing it this way was cheaper than any of their pre-cut, 4S4 boards, and none of those were the right dimension anyway. Back home, I began to consider the cuts necessary to achieve 32" width.
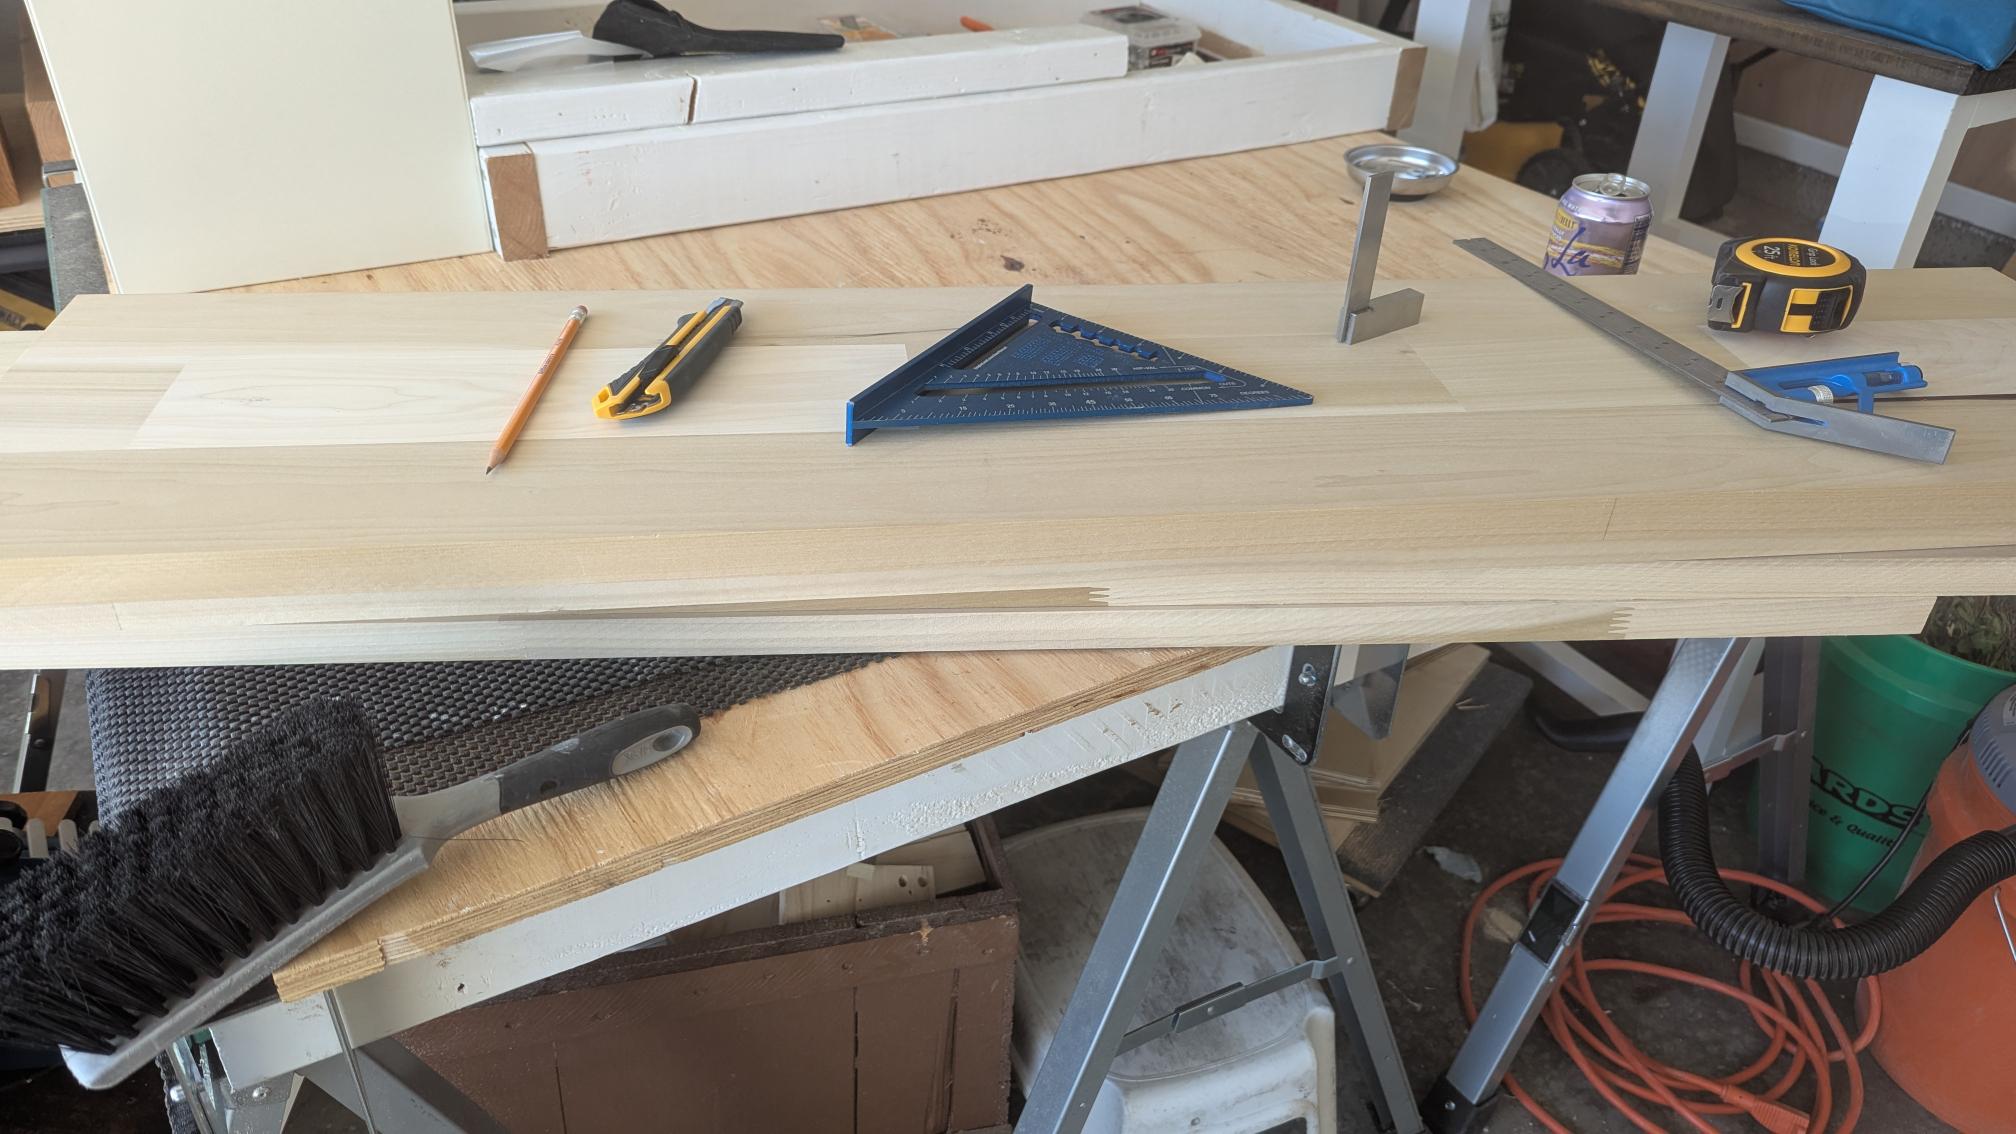
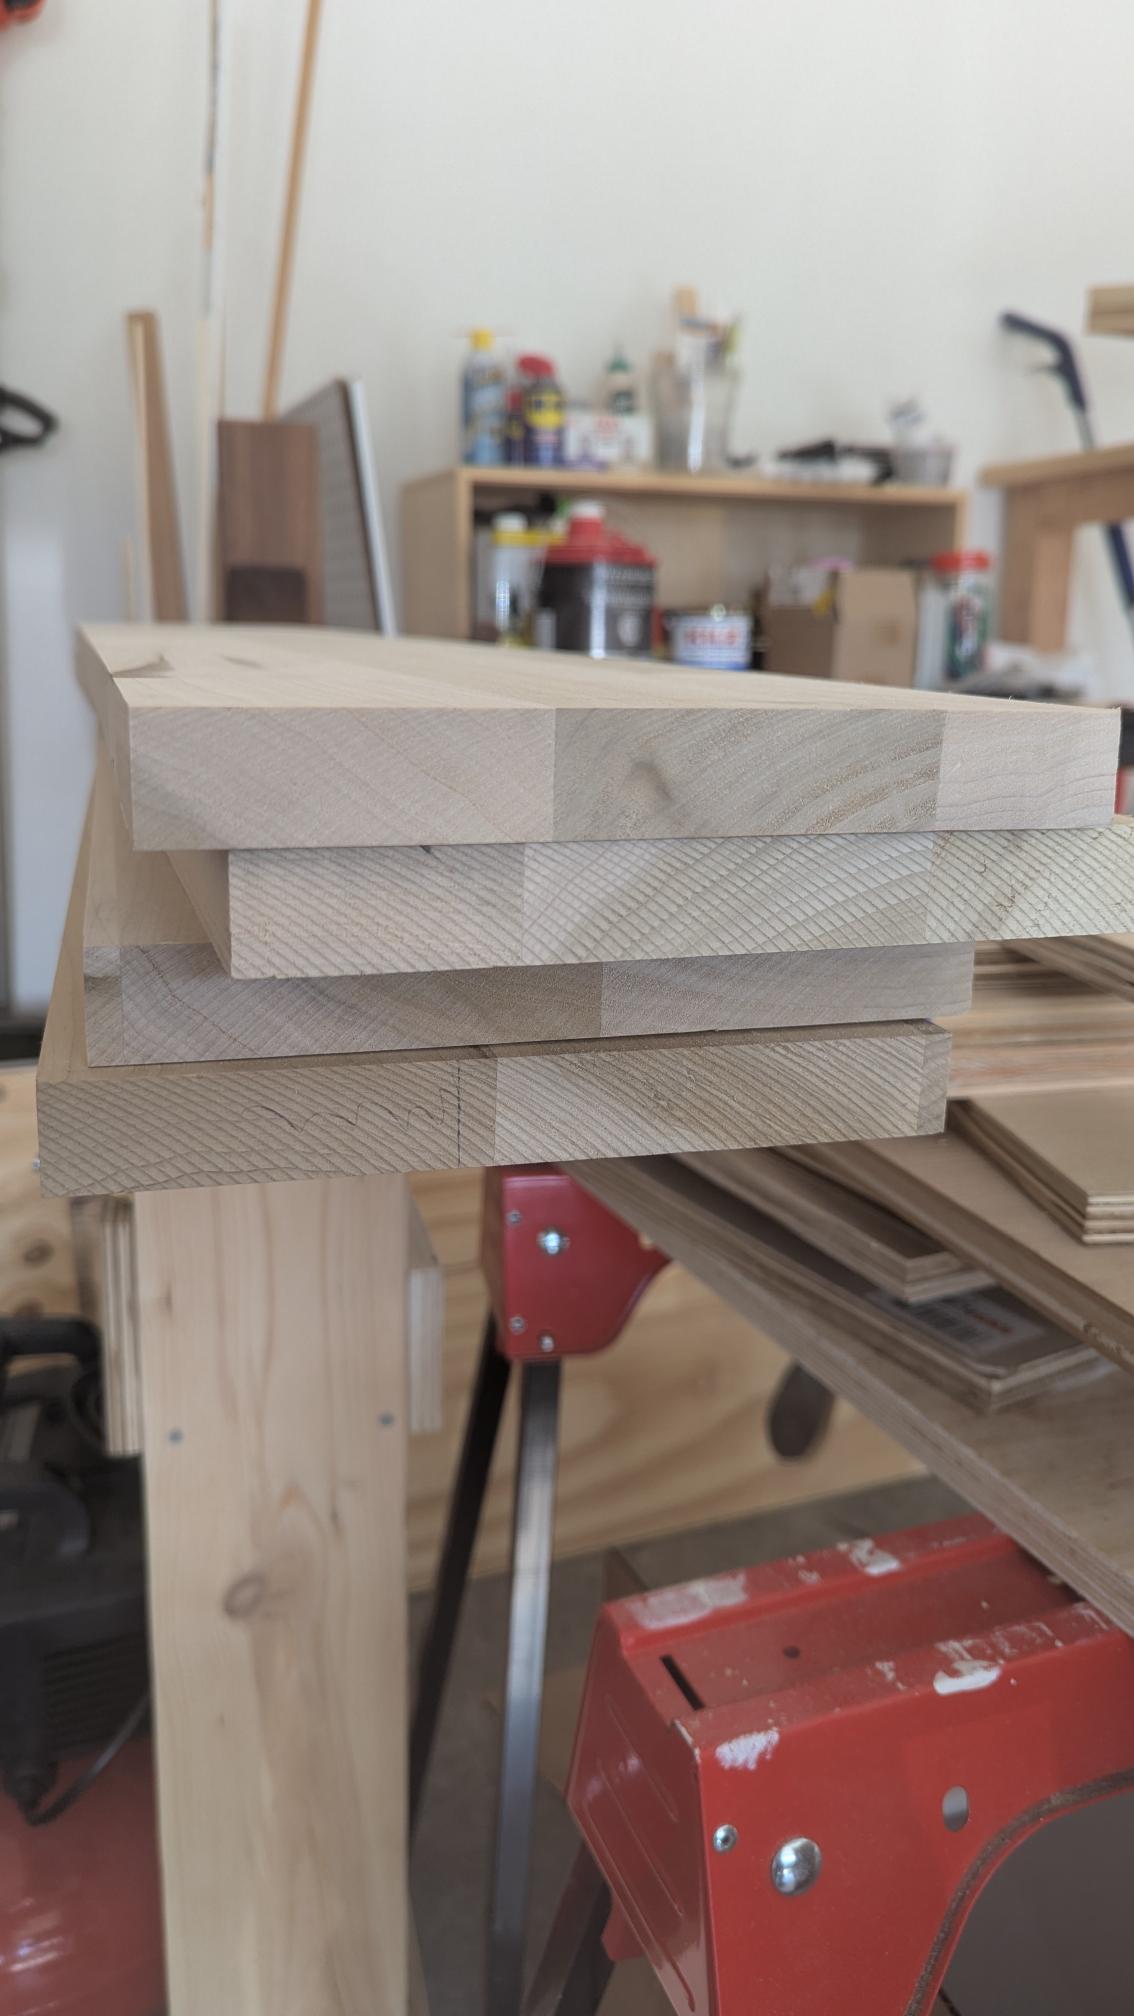
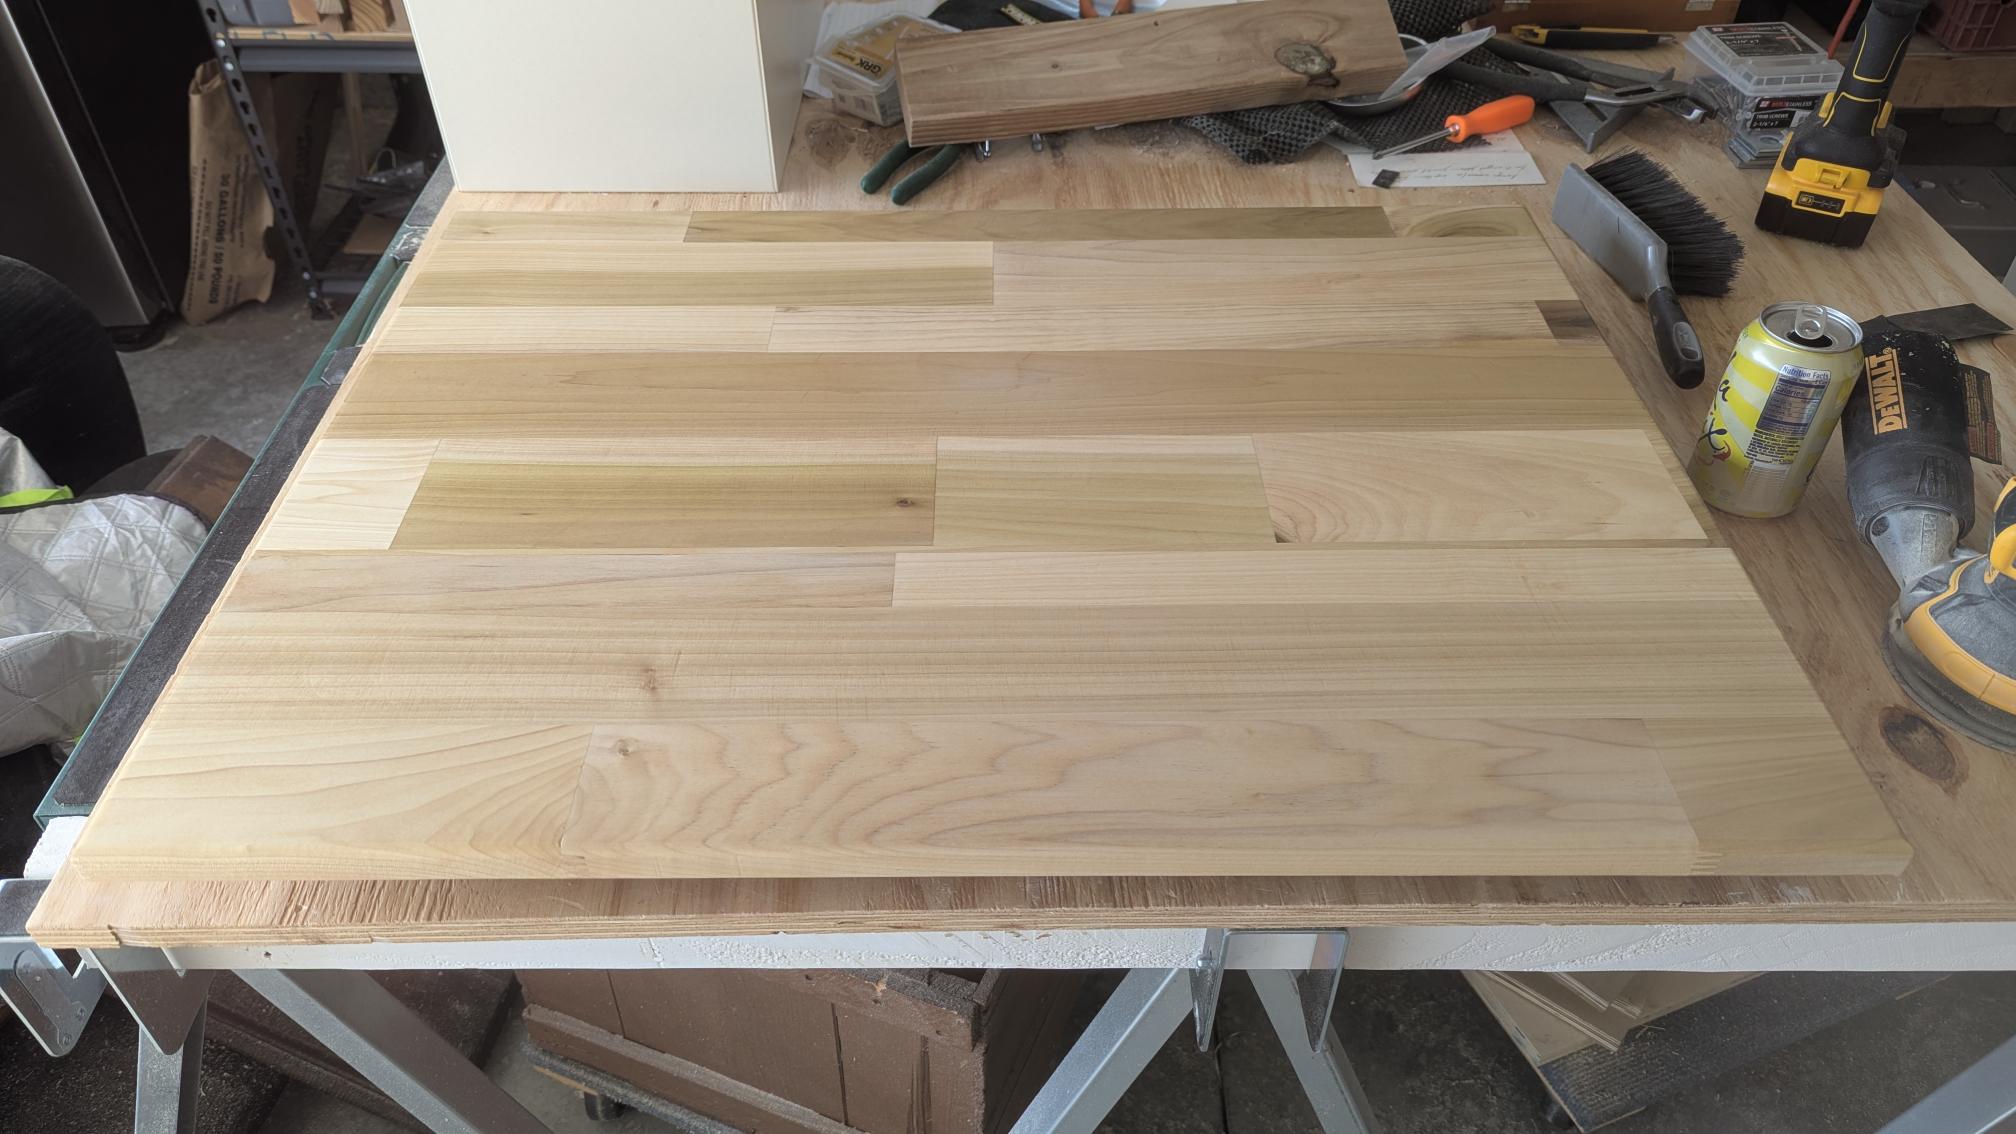
I cut each tread down to size with my table saw. Notice I cut off the rounded edge — not only would those prevent me from gluing the boards up, but I also needed each piece to be 8" wide to hit a total of 32". The cutoffs would be used later for bumpers to keep the changing pad (and hence the child) from moving around.
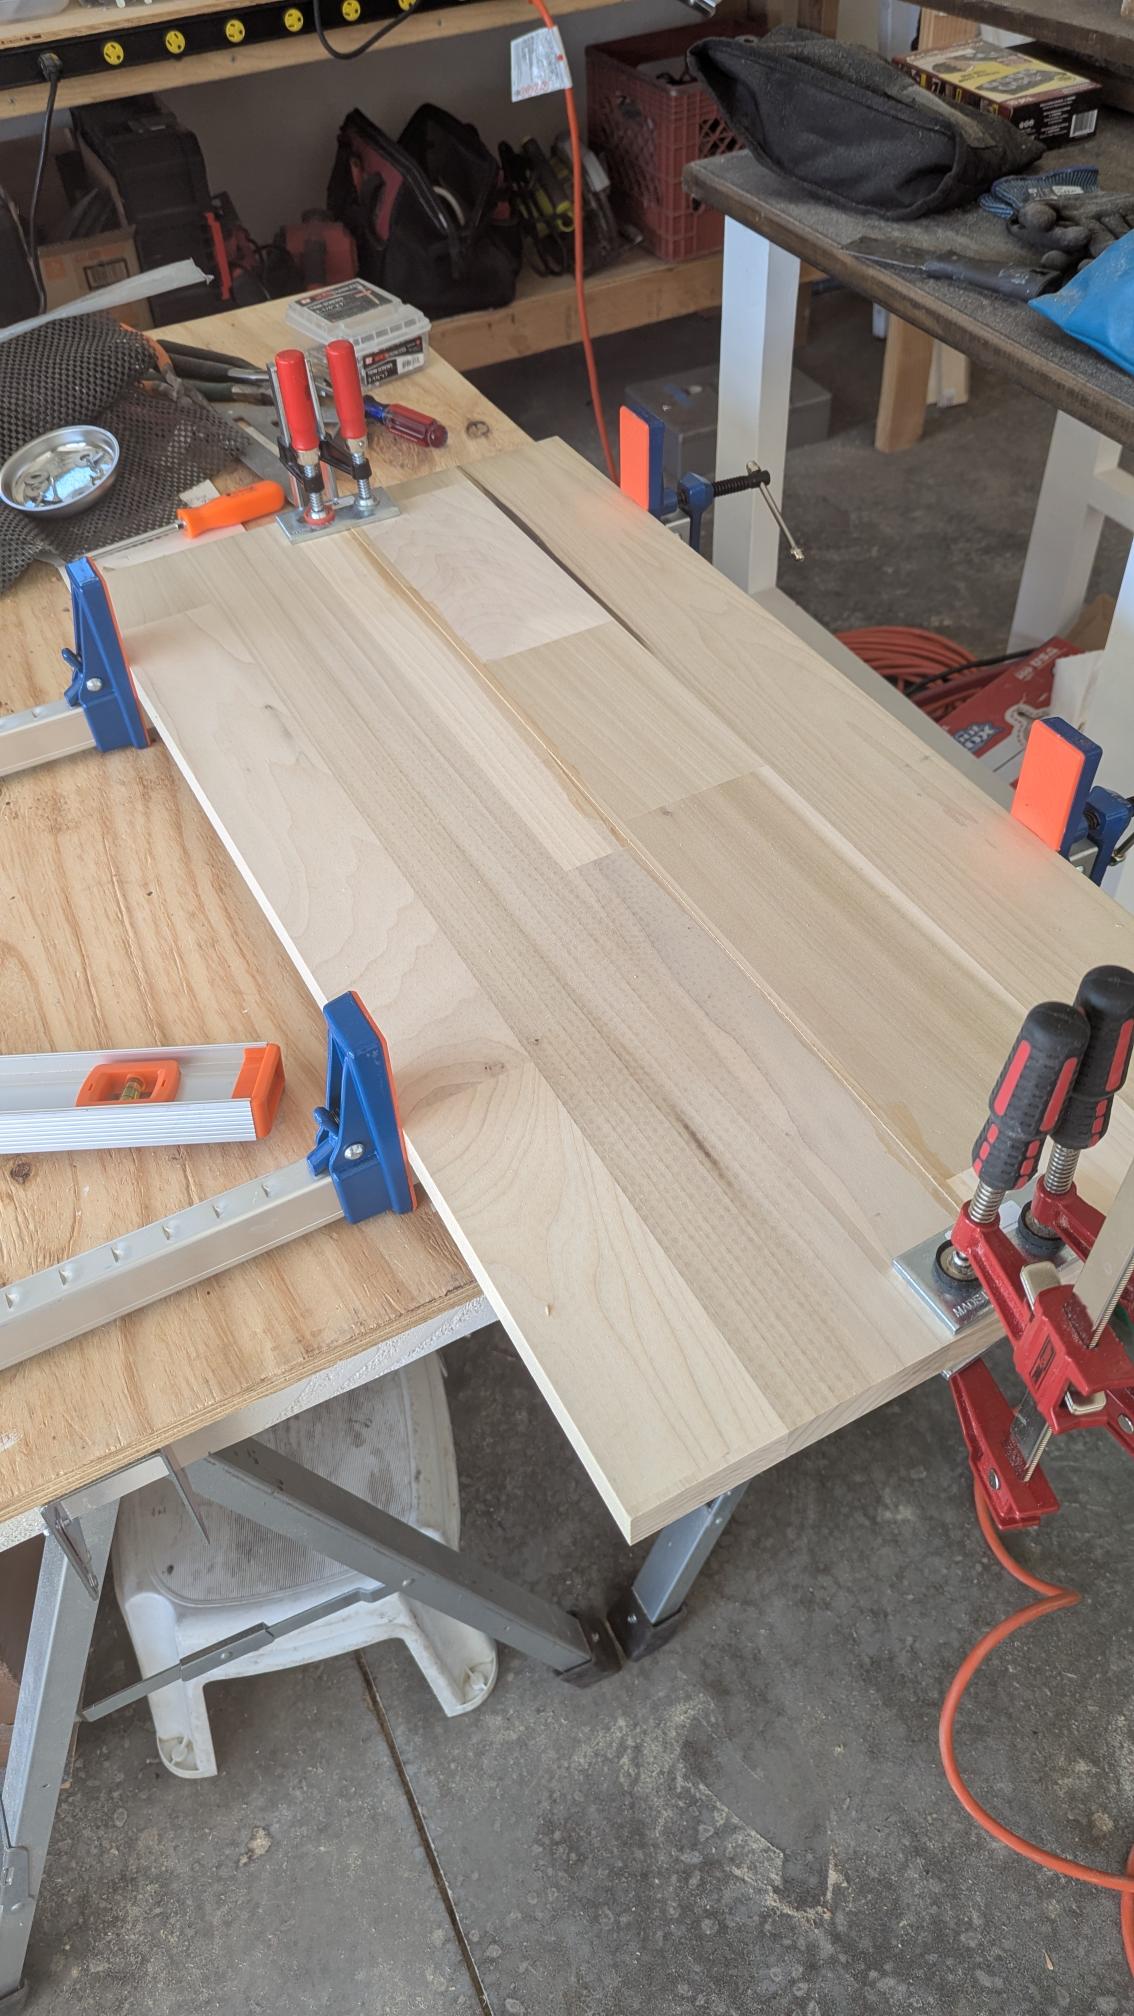
Afterward, I glued the edges and gave them 24 hours to set. I found some pretty decent clamps at Harbor Freight for the glue-up proces. I was going to use the pipe clamps I have at home, but when I was out buying the materials, I couldn’t remember if I had two 36" pipe clamps or two 24" pipe clamps, so I just bought the F-style clamps to be sure. One can never have too many clamps.
Mark the metal bits in the middle held in place by the red bar clamps: I needed a way to press the treads so the table top would be flat (or flat enough) so I bought two… metal things from Mendards in the electrical section. These aren’t cauls, exactly, since I think cauls are meant to span the entire length of the piece, and these just cover a small area near the joint.
I don’t know what the metal bits are meant for, but they were flat and cheap, and those were the only requirements. As it turns out, wood glue does in fact bond to metal, which was opposite of my prediction. I had to hit one of them pretty hard with a hammer to get it to release. Thankfully, it didn’t tear the wood at all.
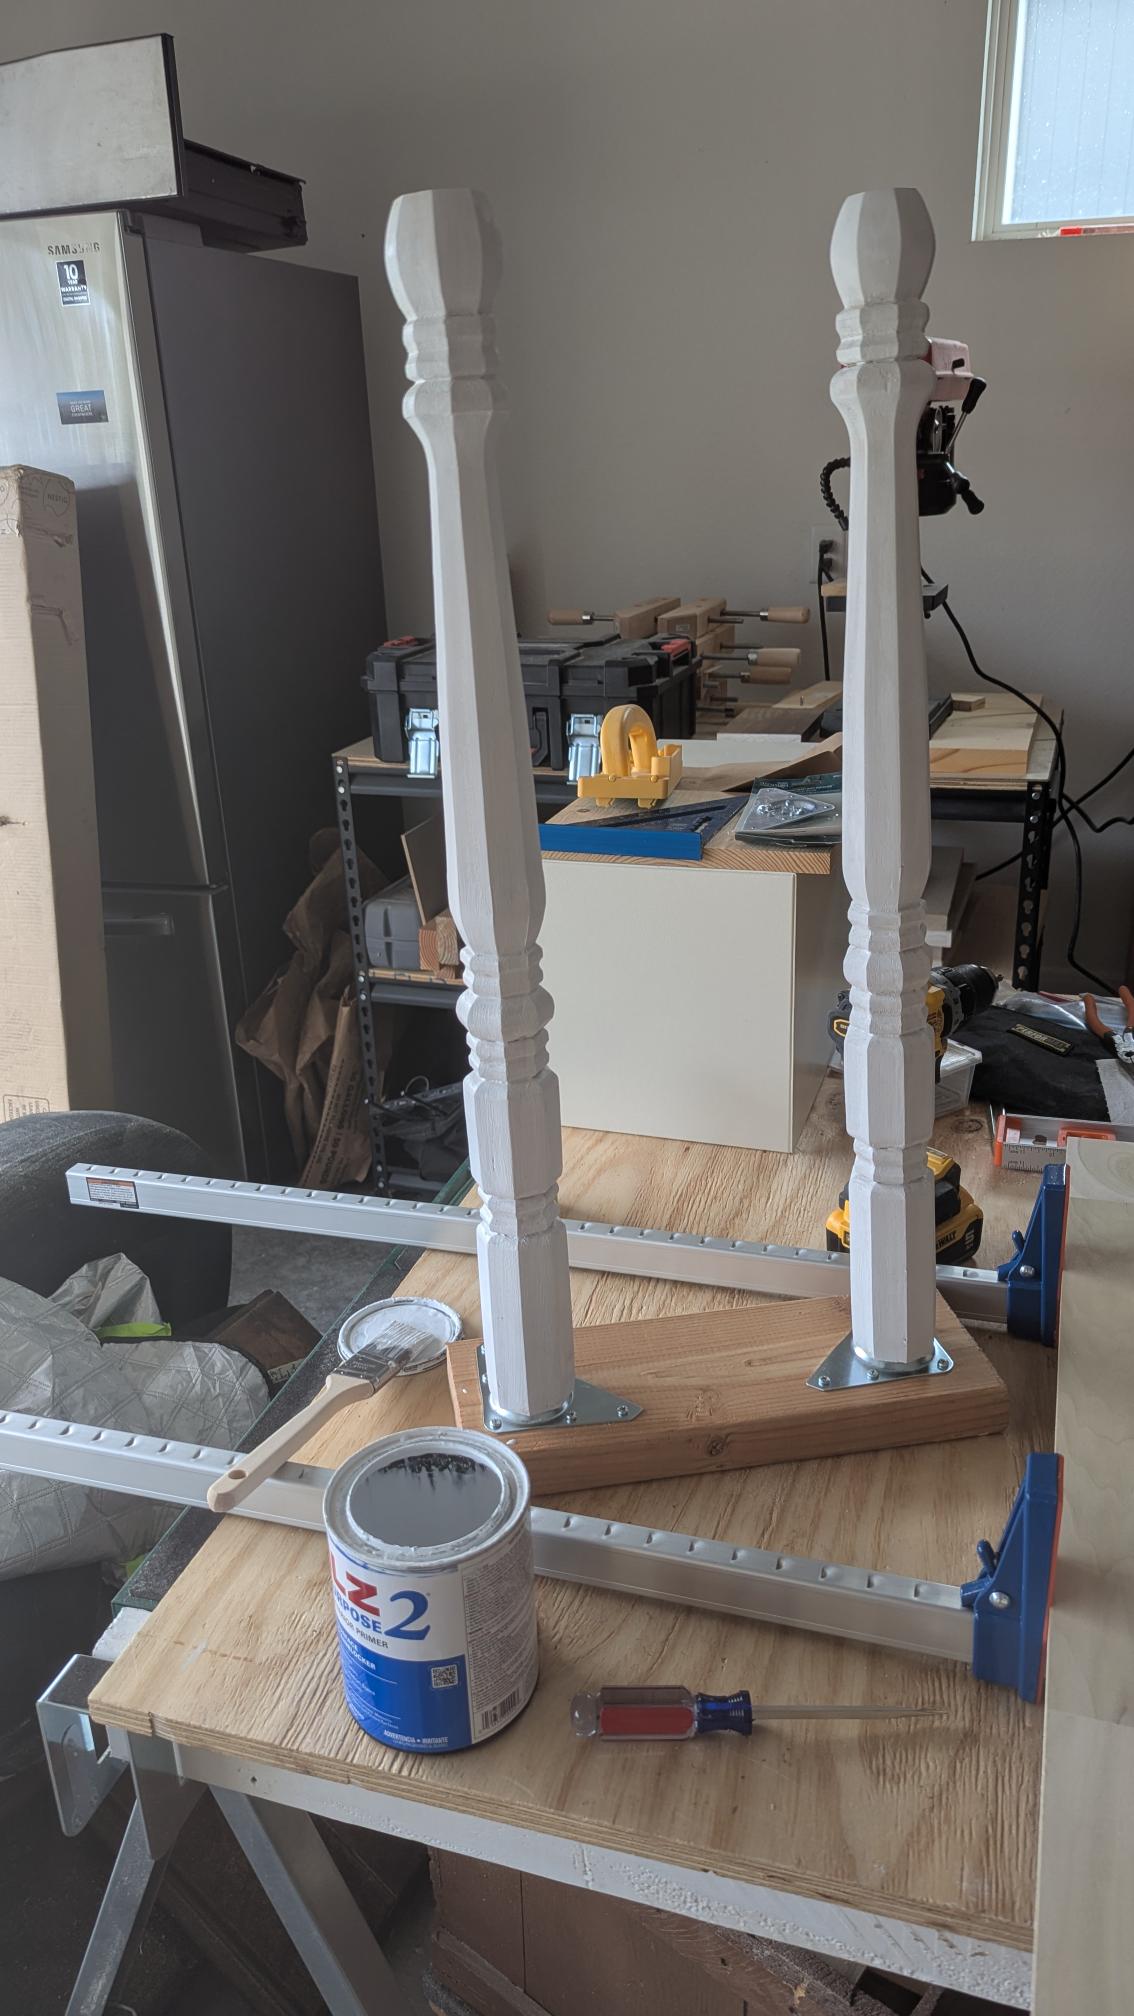
While the glue up was finishing, I moved on to the legs. I was going to build custom legs, but since this was a “need” project instead of a “want,” I just purchased some legs from Home Depot as well as some mounting hardware. I found some scrap 2x8s and mounted the legs so I could prime and paint them easier.
By the time I got around to finishg painting the legs, the glue-up was finished. This is my second time gluing up pieces like this — the first time was a disaster, since I overtightened the clamps pressing the pieces together, which caused them to buckle. This time, I used much less force, and the results were night and day.
I routed with a 1/4" roundover bit across the top, leaving a bit of a lip (~1/16" eyeballed), and did a non-lip roundover on the underside.
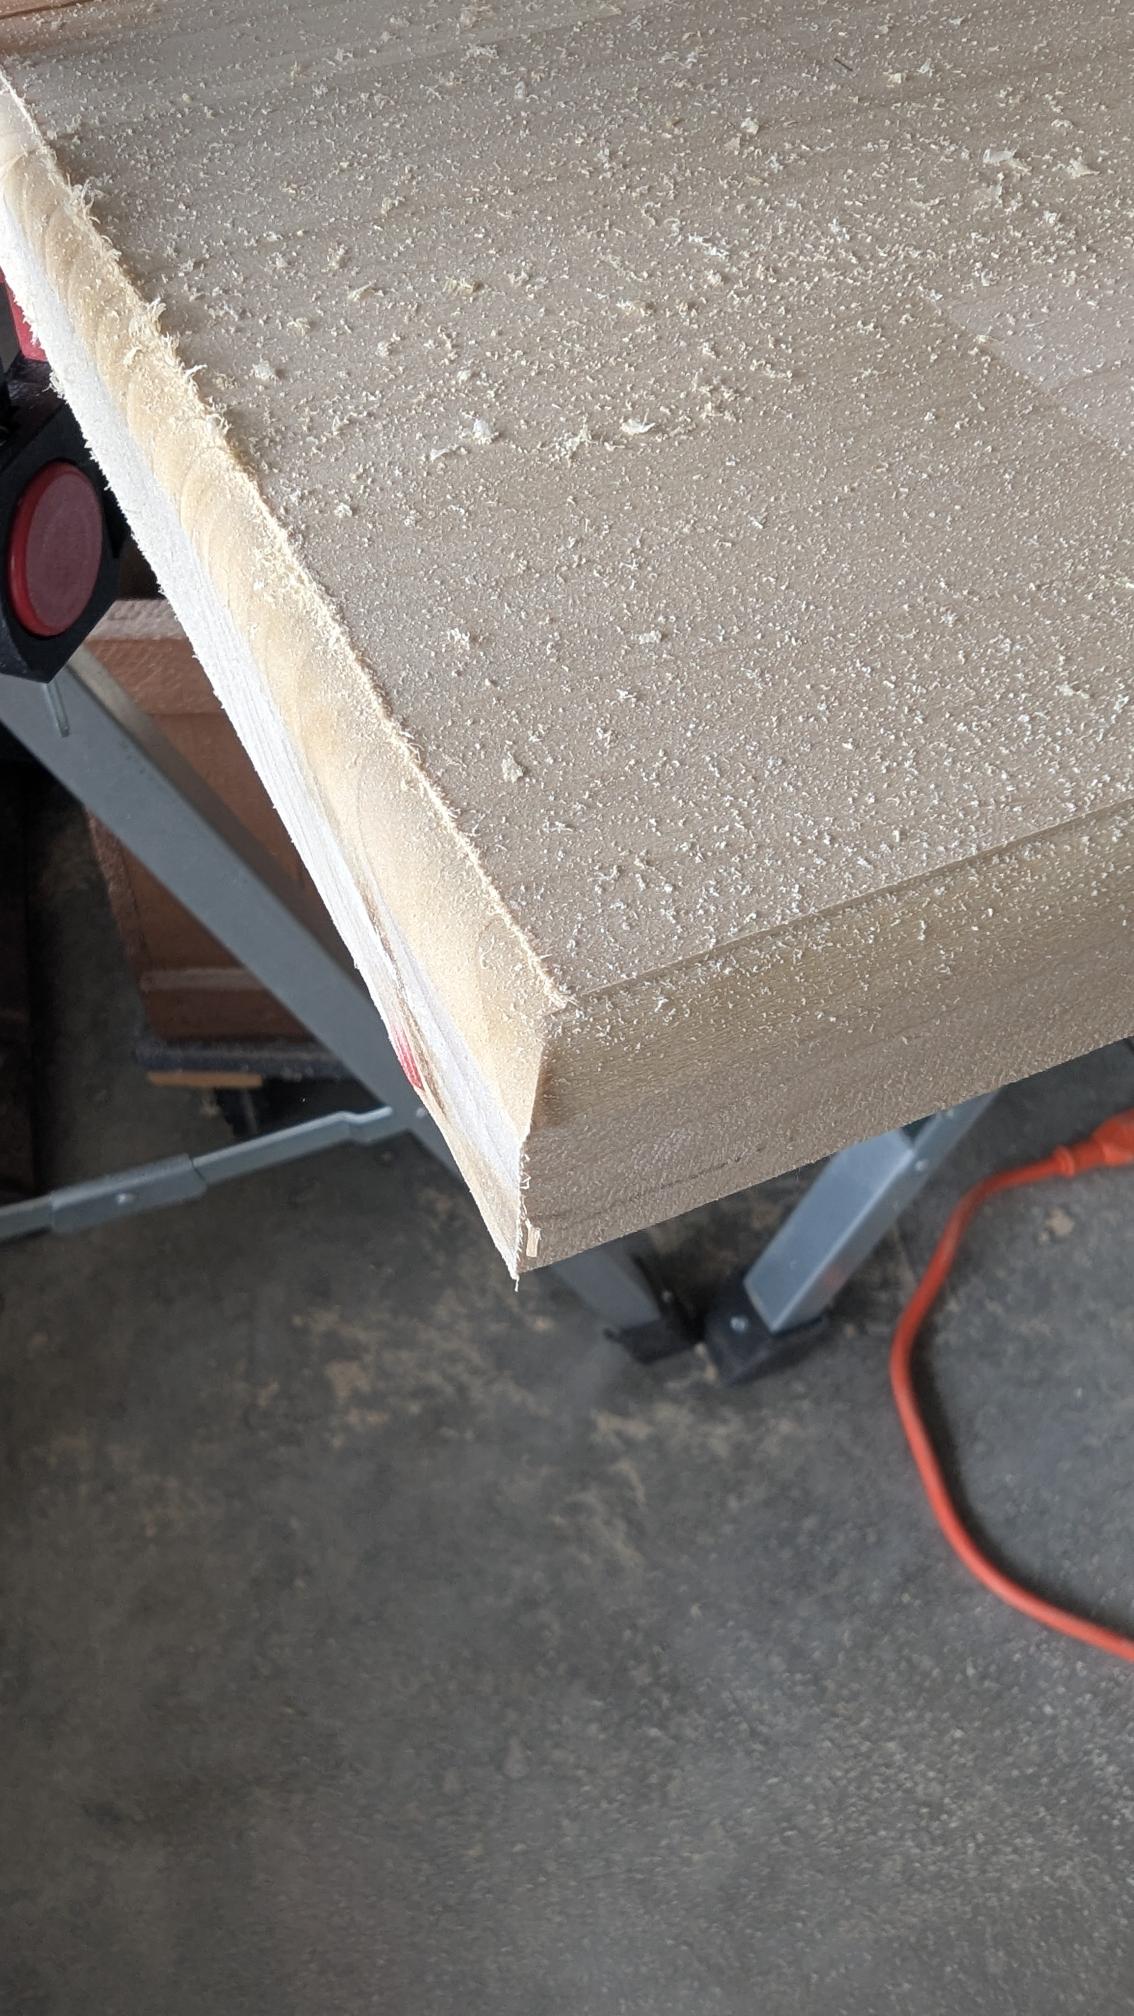
With the top and bottom routed, I hit the surfaces with a belt sander to rough down the material and remove any glue where the pieces meet. Then I used the random orbital sander to smooth it out and prepare the top and bottom for staining (first 120-grit, then 220-grit).
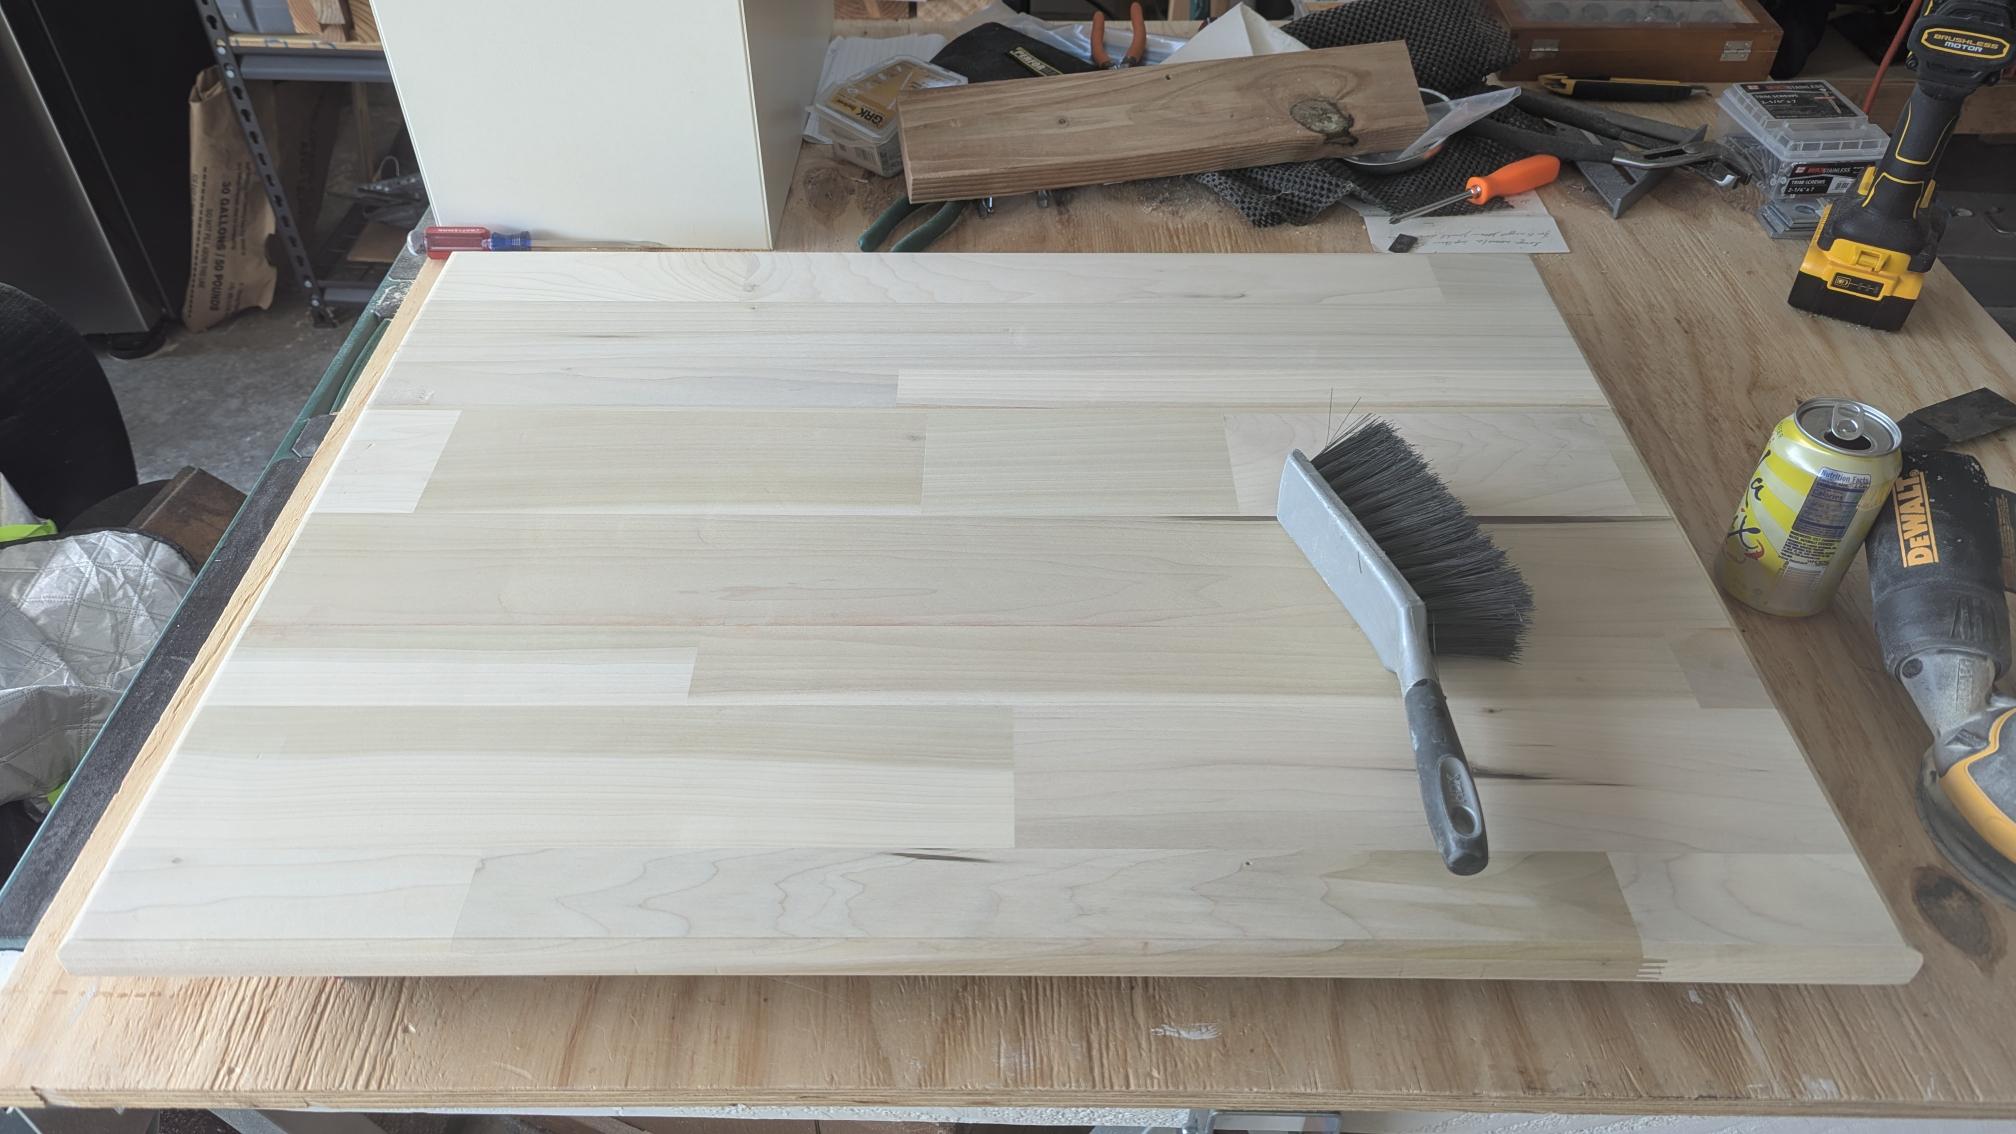
There’s not much of a difference between these two photos, but this is what it looks like after pre-stain was applied:
The following evening, I grabbed a stain pad from Home Depot on advice that it makes that process a bit easier. I bought two — one cheap, one decent, but ended up only using the cheap one for now.
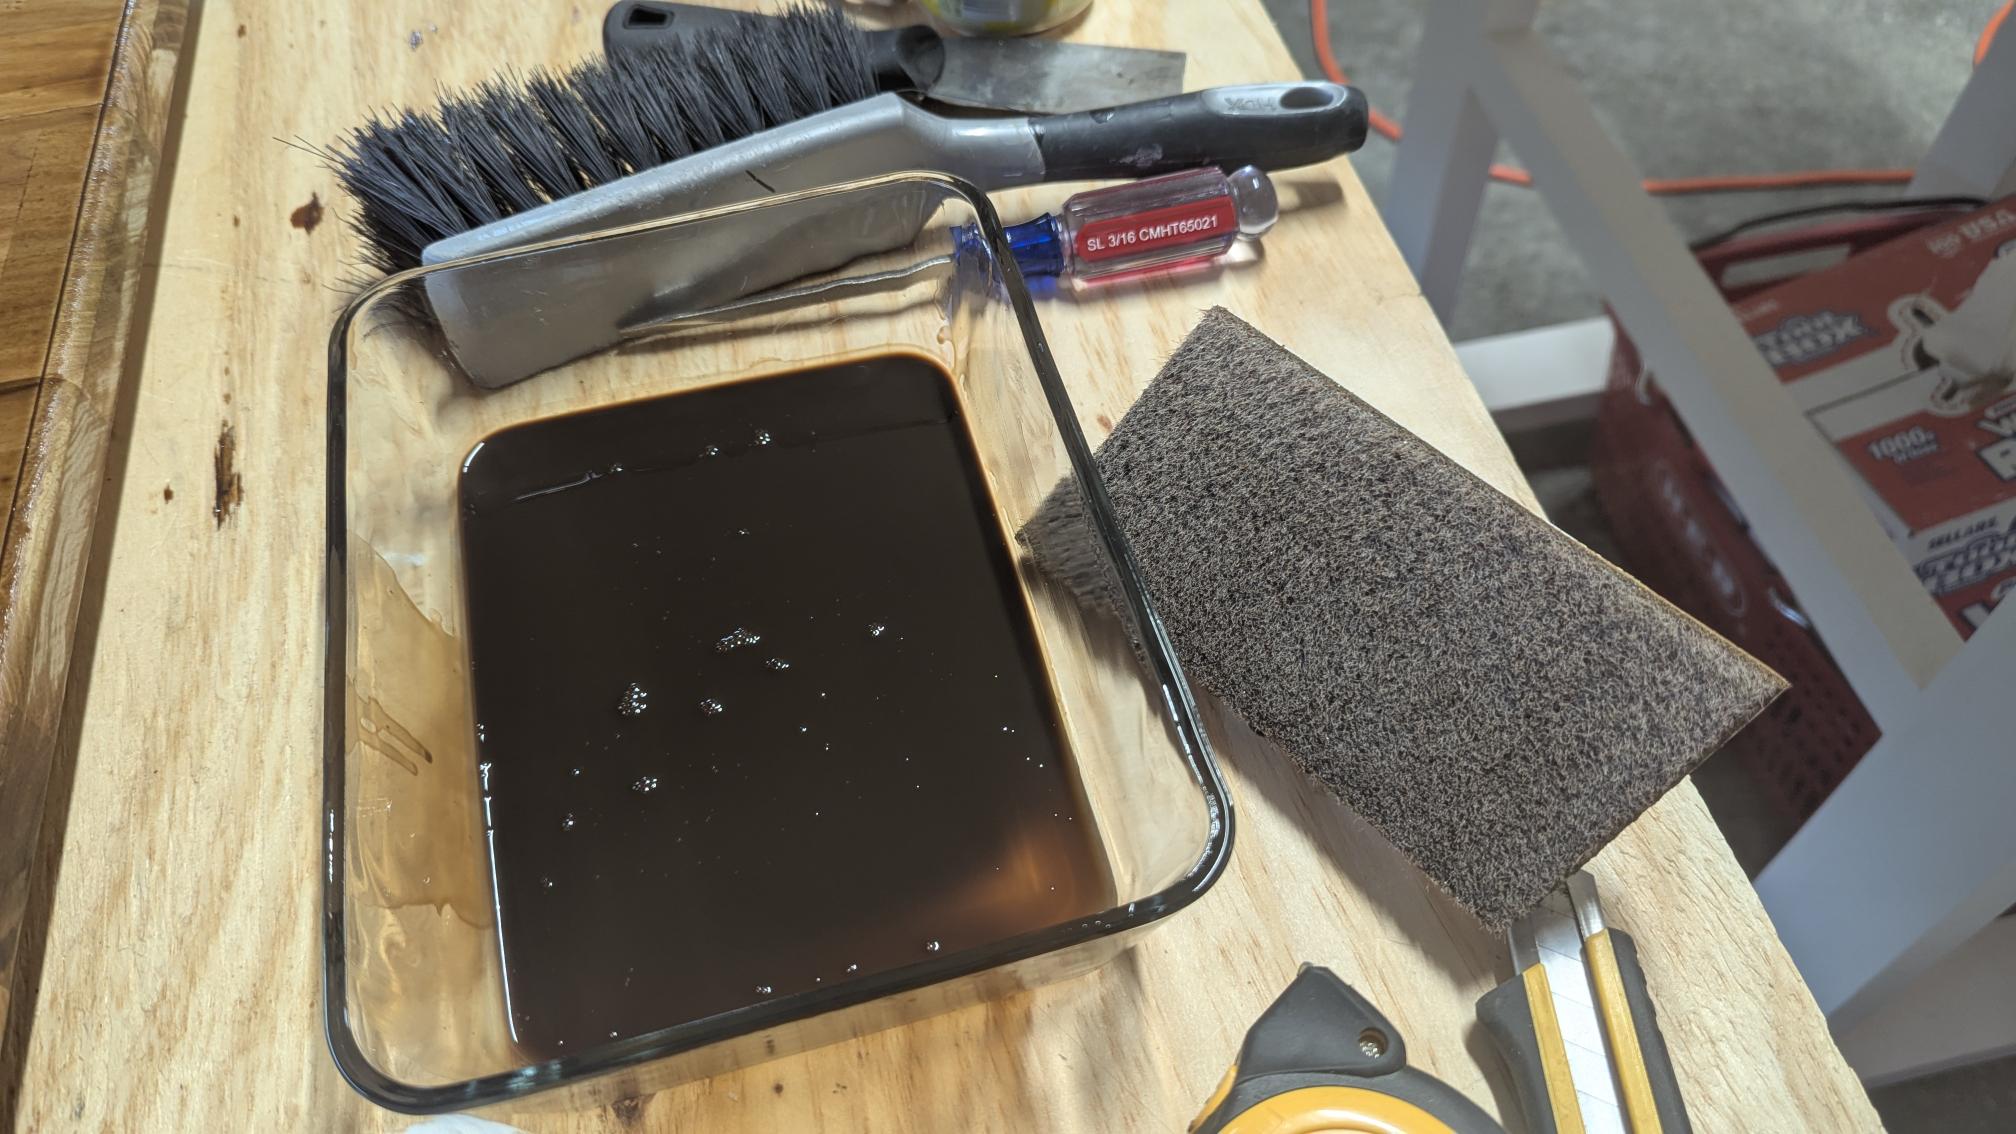
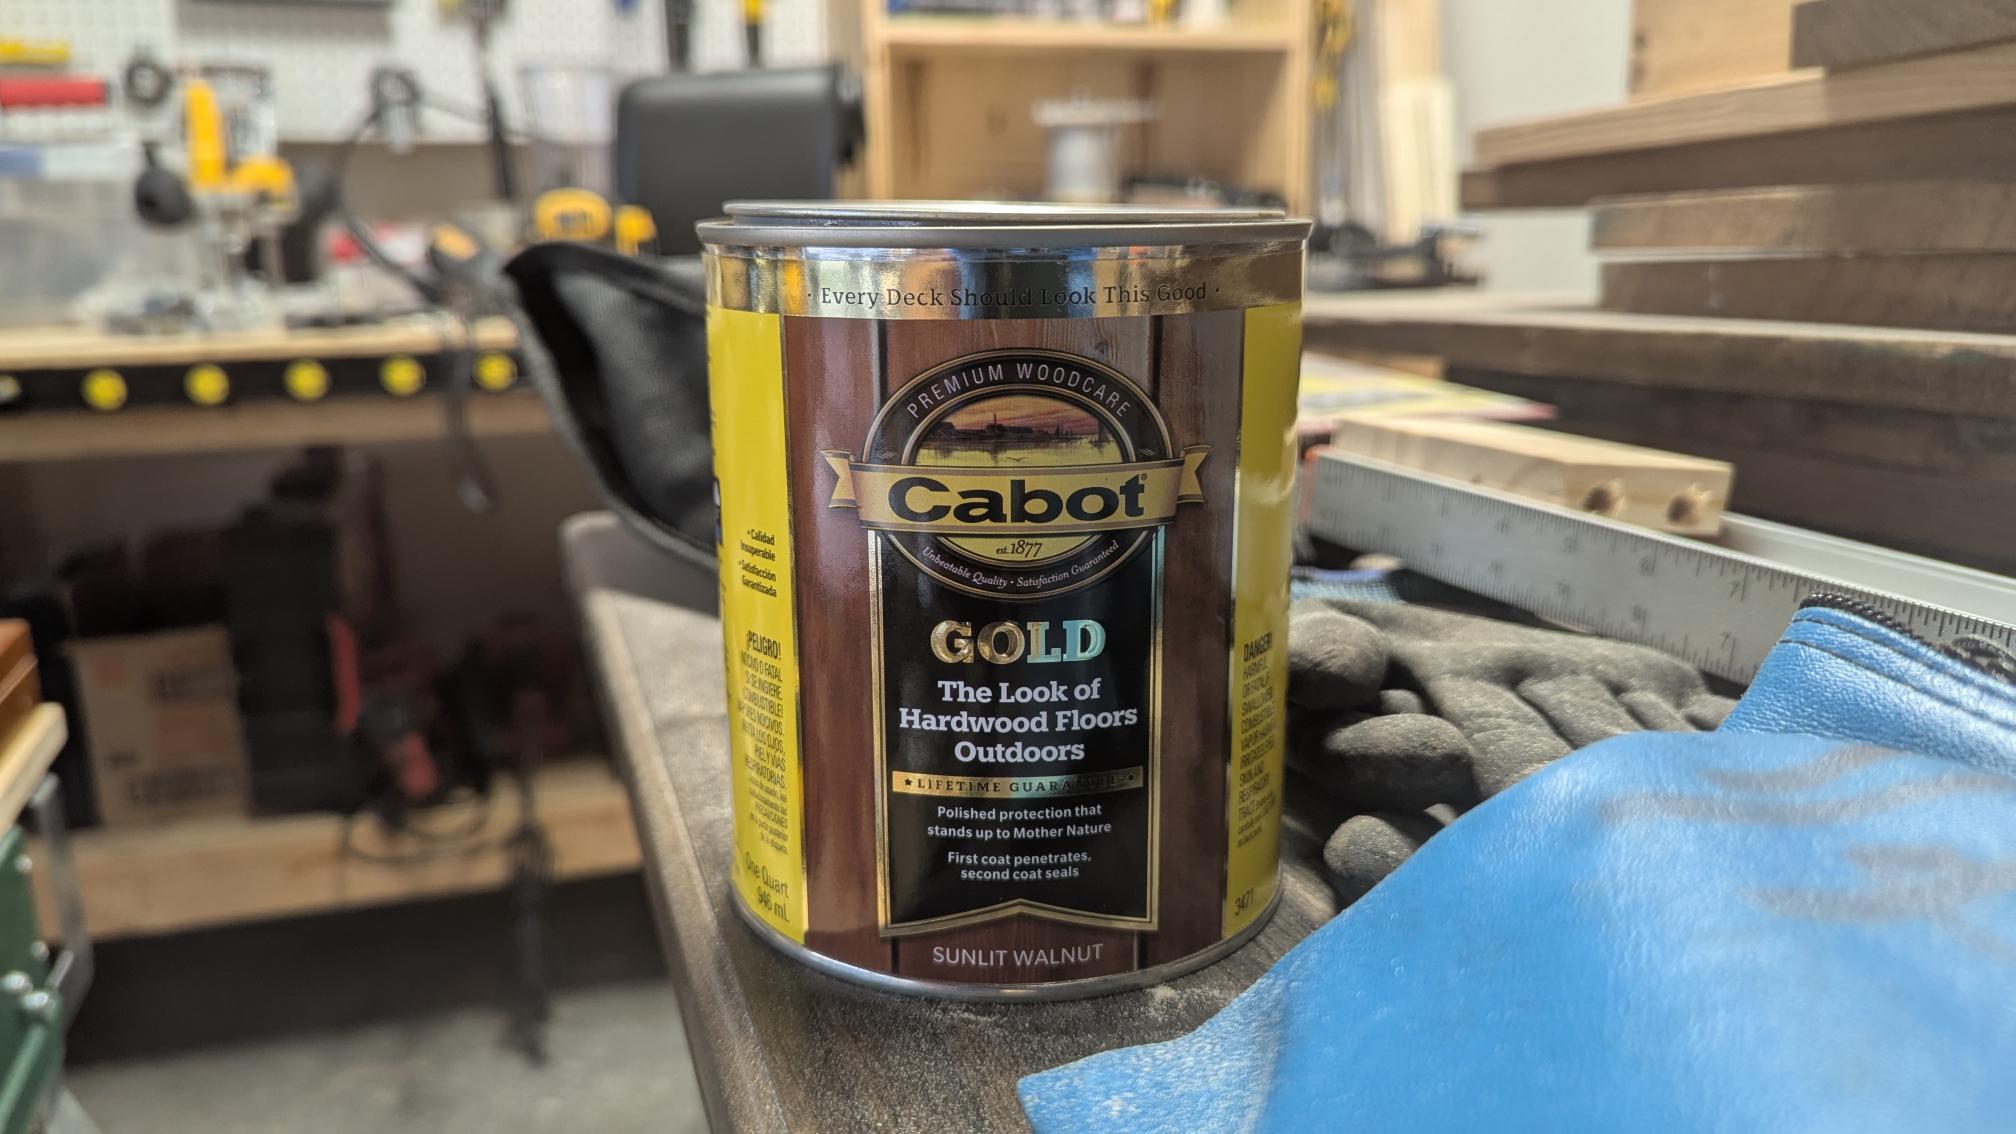
I had some stain from a previous piece so just went with that, since my wife requested the same color.
It turned out okay. The pad definitely helped, but it did leave some tiny bubbles I had to deal with. Overall, would use again. I only did the top, since I have to flip the thing to get to the underside.